You can download the latest version of DiffPlug here.
Windows
DiffPlug is compatible with Windows XP, Vista, 7, 8, and 8.1.
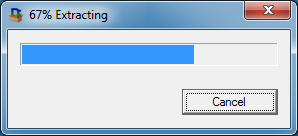
Double-click the DiffPlugInstaller_[version].exe file. This will start a brief extraction process.
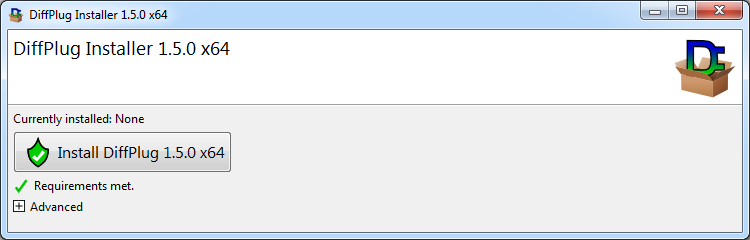
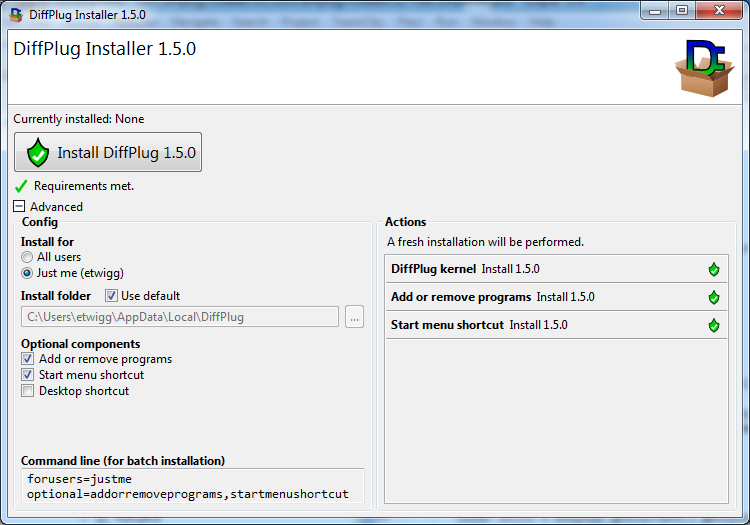
After a few seconds the installer will open. Click the large Install button to begin installation.
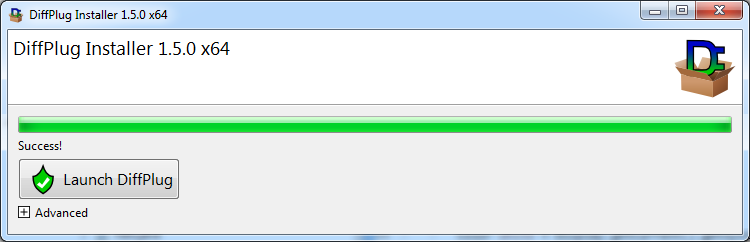
The installation is now complete! DiffPlug will be in the Start menu, as well as in the Add or remove programs dialog.
If this is your first time using DiffPlug, we highly recommend taking a quick look at this tutorial.
Mac
DiffPlug is compatible with OS X 10.7 Lion and later, including Mountain Lion, Mavericks, and Yosemite.
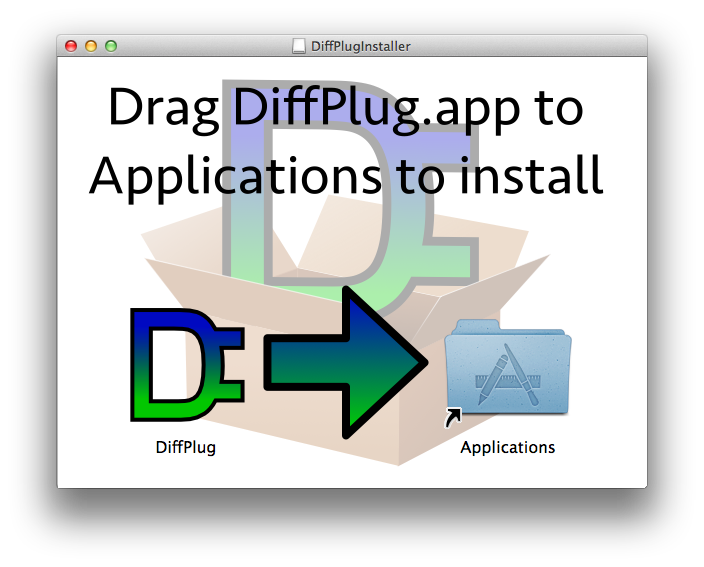
Double-click the DiffPlugInstaller_[version].dmg file. This will open the disk image. Drag DiffPlug into the Applications folder.
You can now start DiffPlug from Finder by going to the Applications folder.
If this is your first time using DiffPlug, we highly recommend taking a quick look at this tutorial.
Linux
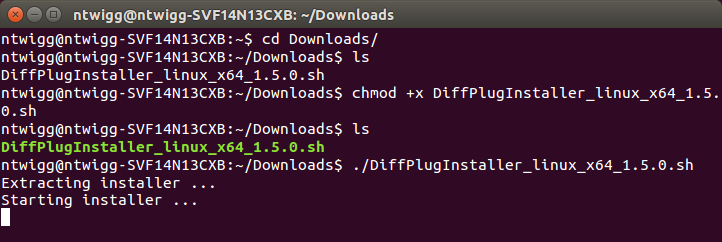
The DiffPlug Installer is a self-extracting shell script. To install DiffPlug, open a terminal in the same directory as the downloaded file. Make the shell script executable by running chmod +x DiffPlugInstaller_[version].sh, then start the installer with ./DiffPlugInstaller_[version].sh.
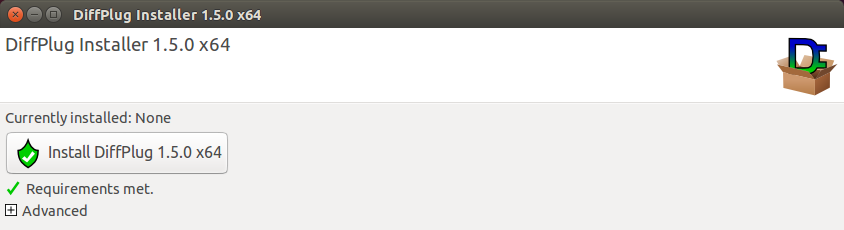
After a few seconds the installer will open. Click the large Install button to begin installation.
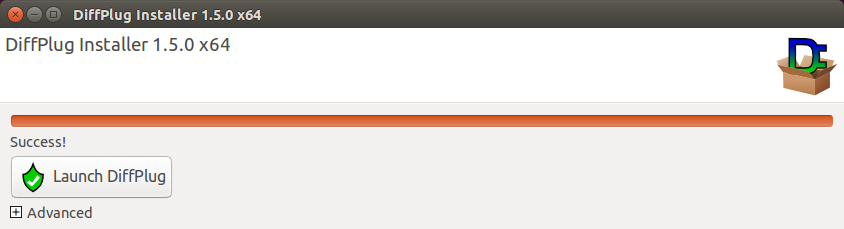
The installation is now complete! DiffPlug will be in the Gnome (Unity) Launcher.
If this is your first time using DiffPlug, we highly recommend taking a quick look at this tutorial.
GTK Troubleshooting If you see an error message with Using GTK+ 2.x and GTK 3 in the same process is not supported, you can fix this by running export SWT_GTK3=0 at the terminal before running the installer. If that doesn’t work, try export SWT_GTK3=1. If the problem persists, copy paste the error to our forum and we’ll get back to you ASAP.
Upgrade and uninstall
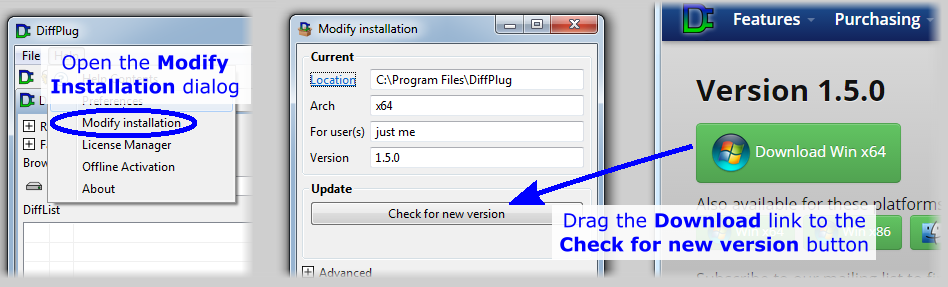
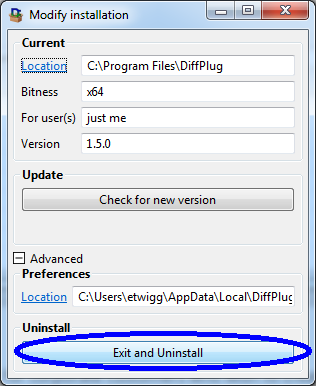
Starting with 1.5.0, you can efficiently upgrade and downgrade DiffPlug to any version via the following:
If you expand the advanced section, you’ll see the “Uninstall” section. On Windows, you can also use the built-in Add or remove programs mechanism.
Batch installation
This section is intended for corporate customers who wish to create custom install scripts for use within their company. It applies equally to Windows, Mac, and Linux.
DiffPlug does not require any registry entries, environment variables, or system files to be set. This means that you can simply zip up a DiffPlug installation and copy it to as many computers as you would like.
However, if you would like advanced features such as Start Menu shortcuts and efficient updates, then you may want to use the install script. Every DiffPlug installation contains an install script which is capable of installing a fresh DiffPlug or updating an existing DiffPlug very efficiently by only copying the files which need to be updated. The install script is located at the following location:
| OS | Path to install script |
|---|---|
| Windows | INSTALL_DIR\DiffPlugInstaller.bat |
| OS X | INSTALL_DIR/Contents/MacOS/DiffPlugInstaller |
| Linux | INSTALL_DIR/DiffPlugInstaller |
If you run the install script with no arguments, it will open the GUI. If you open the advanced tab, it will show the command line arguments necessary to duplicate the selected configuration in the lower left.
To execute the installer in a headless mode, add the flags -consoleLog HEADLESS=true. If the install / update / uninstall operation is successful, the last line to the console will be SUCCESS. Anything else indicates failure.
Here is an example of a successful install:
cmd> DiffPlugInstaller -consoleLog headless=true
DiffPlug Installer 1.5.0 x64

SYSTEM STATE
Existing: No install
Goal    : 1.5.0 x64 installed at C:\Users\etwigg\AppData\Local\DiffPlug for just me

ACTIONS
DiffPlug kernel       : Install 1.5.0
Add or remove programs: Install 1.5.0
Start menu shortcut   : Install 1.5.0

CHECKING REQUIREMENTS
0...10...20...30...40...50...60...70...80...90...100
Requirements met.

PERFORMING INSTALL
0...10...20...30...40...50...60...70...80...90...100
Install successful.

SUCCESS
To do a headless uninstall, you must use the install script of the installation you want to uninstall. DiffPlug installations must uninstall themselves.
Here is an example of an uninstall. Note that it failed, because the Start menu shortcut has already been deleted. This issue can be easily resolved within the GUI, but the headless installer fails-fast.
cmd> DiffPlugInstaller -consoleLog headless=true mode=uninstall "installfolder=C:\Program Files\DiffPlug"
DiffPlug Uninstaller 1.5.0 x64

SYSTEM STATE
Existing: 1.5.0 x64 installed at C:\Program Files\DiffPlug for just me
Goal    : No install

ACTIONS
DiffPlug kernel       : Uninstall 1.5.0
Add or remove programs: Uninstall 1.5.0
Start menu shortcut   : Uninstall 1.5.0

CHECKING REQUIREMENTS
0...10...20...30...40...50...60...70...80...90...  ERROR!
ERROR: Requirements not met.
Start menu shortcut   : This component has already been uninstalled, because 'C:\ProgramData\Microsoft\Windows\Start Menu\Programs\DiffPlug' does not exist.